GLASS ART
Judy Sandin, my son Kim’s wife, occasionally posts pictures of stained glass
items that I find intriguing. I finally got around to asking
her about them and got introduced to her complex and fascinating hobby.
Here is a set of pictures illustrating the tools used and the process
followed in assembling a representative sample of Judy’s work.
|
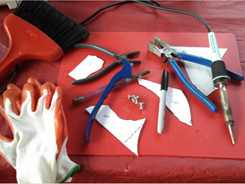
Some of the tools |
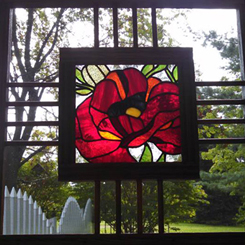
The goal |
Tools of the trade include glass cutters (scoring tools), running pliers
(breaking tools), grozer pliers (nipping tools), soldering iron, brushes, pens,
fids (for applying foil and realigning came), and of course gloves.
Not shown are safety glasses, grinder, and saws.
Materials include patterns, solder, flux, lead came, copper foil, and of course
glass. (Came is H and C [or U] cross section lead strips used
to connect adjacent pieces of glass and cap end pieces.)
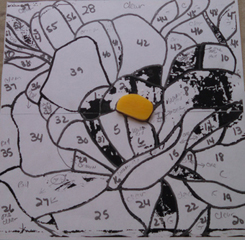
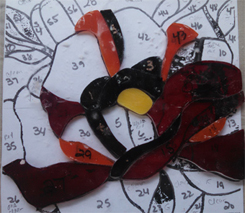
The next pics illustrate the construction of the poppy in the upper right
picture. Judy uses the copper foil and solder method for
connectivity, not the lead came method.
|
A beginner might purchase a kit with pattern and full directions including
precut glass and simply assemble the final item. The other
end of the spectrum for an advanced artist is to create the pattern from
imagination, assign colors, patterns, textures and other details and then
assemble the item from raw materials.
As you can imagine, the process requires patience, trial and error, and a degree
of precision not common to the general population.
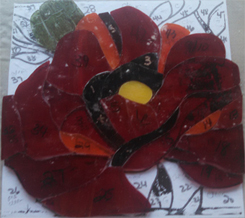
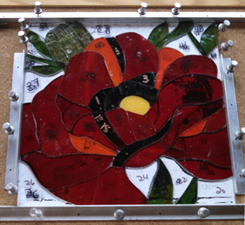
|
More cutting, fitting |
Fine tuning |
Sometimes paint is applied to the glass and baked on to achieve detail (see dots
on the tail fins of the first fish below). The cutting and
fitting goes on and eventually gets to the point where the glass pieces need to
be constrained prior to connectivity.
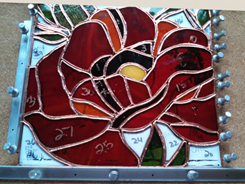
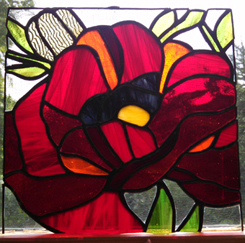
|
Adding foil, soldering, connecting |
Ready to frame |
Once the pieces are all fitted, they are connected with foil and solder to hold
together as a single unit. The pattern is removed, the joints
may be artificially aged by the application of a patina, the glass is thoroughly
cleaned, hangars may be added, and/or the piece may be incorporated in a window
frame or other method of display, and voila!
Pattern sizes range widely, but as they get larger the copper foil and solder or
the came and solder techniques do not provide sufficient support and reinforcing
must be added. Judy has made 24” circular pieces, 17” x 24”
rectangular pieces, and odd-size pieces as seen below. She
says these pieces take her between 30 and 50 hours each.
The craft is not cheap – one can spend lots of money on tools.
Glass prices range widely and can be as much as $50 for a 12” x 12”
piece. Even the came and copper foil are pricey.
Judy is not in the business – most of her work is gifted to family and friends.
In fact, it seems like it would be difficult to make a living at this.
Think of it – you’d have to get $500 for one of these pieces to make
minimum wage.
JUDY’S GALLERY
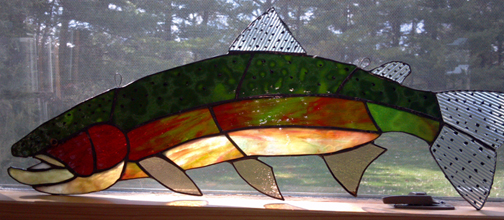
Fish
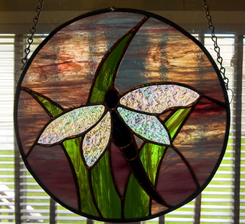
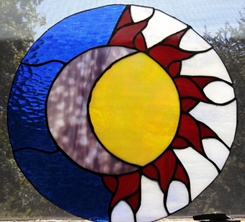
|
Dragonfly |
Moon Sun |
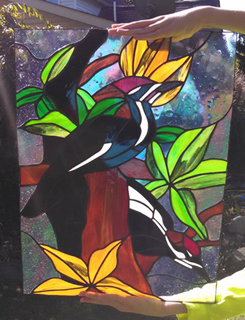
|
Pileated woodpecker pair |
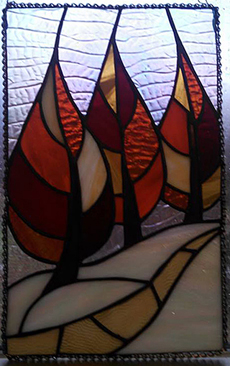
Three trees |
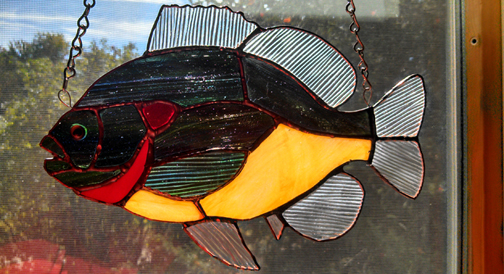
Fish
|
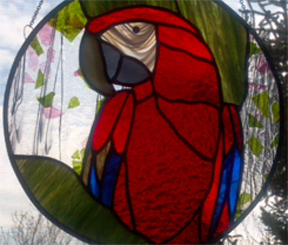
Scarlet Macaw |
Three fish |
|
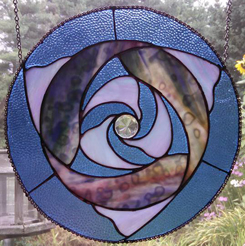
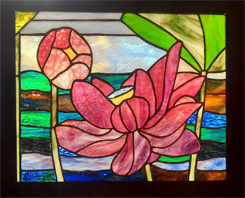
Lotus |
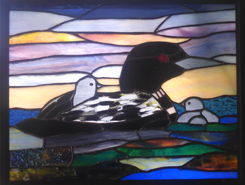
Loons |
AFTERWORD
In case you’d like to learn more about this activity, or
just want to see more examples of the craft, go to
Delphi Glass Corp., a leading purveyor of glass art supplies, or visit one of
the many web sites of
Chantal Paré to see lots
of such work.